Enabling SSH on your Netgear ReadyNAS
To alter system settings or browse system directories you will be required to connect to your NAS via SSH. This tutorial will guide you through enabling SSH on your ReadyNAS and show you how to connect to your ReadyNAS with an application called PuTTy.
Please be aware that enabling SSH on your ReadyNAS may result in Netgear no longer providing user support for your system. See the forum topic here where this issue is discussed by a Netgear support team member. The forum topic is very old and may no longer be relevant given that Netgear allow you to enable SSH from the website interface however I feel you should be aware of this. In either regard it's good practice to take care when entering commands over SSH especially if you are logged in as the root (administrator) user.
Enabling SSH
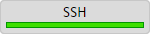
To enable SSH on your ReadyNAS login to the ReadyNAS website interface and navigate to System -> Settings -> Services and enable SSH:
Connecting with PuTTy
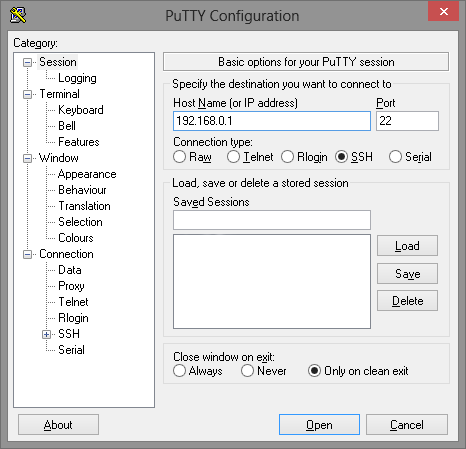
To SSH into your ReadyNAS open the PuTTy application. Enter the IP Address of your ReadyNAS into the "Host Name (or IP address)" section and ensure SSH is selected as the "Connection type":
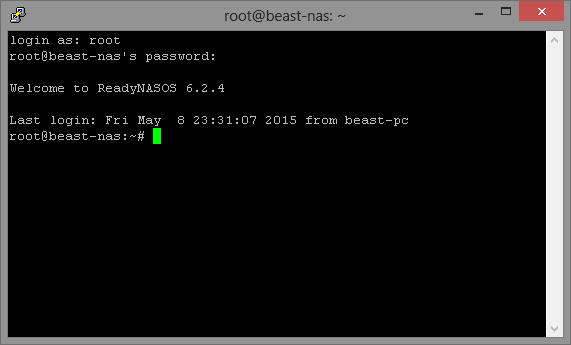
Once the details have been entered click "Open". You will be prompted for a username "root" and the password which was set when you originally configured your ReadyNAS: