Bash Shell Colouring

Sometime it's nicer to have colours displayed in your console output rather than the plain old white text on a black background. This tutorial will describe how you can enable colour output on your console but before we get to the good stuff please ensure you have installed the vim text editor.
Applying Changes
First you'll need to navigate to your home directory by issuing the following command: cd ~
Then list all files within this directory: ls -la
Here you will see a file called ".bashrc". We need to edit this file to enable colouring of our files and directories for the SSH console. Open the file with vim by issuing the following command: vim .bashrc
This will open the file .bashrc within the vim text editor. Once vim is opened you need to un-comment some lines. You do this by removing the hash # from the beginning of the line.
To edit files within vim you first have to press the Insert key on your keyboard. This command instructs vim that you wish to edit the file. Once pressed the text -- INSERT -- will display in the bottom-left corner of the screen.
Some notes to consider when using vim:
- If you tap the
Insertkey a second time, it'll read-- REPLCE --which, as you type will overwrite the contents of the file so be careful! - To input numbers do not use the NUMPAD as the result may be unexpected. Use the numbers above the letters on the keyboard instead.
- If you get stuck editing the file just hit the
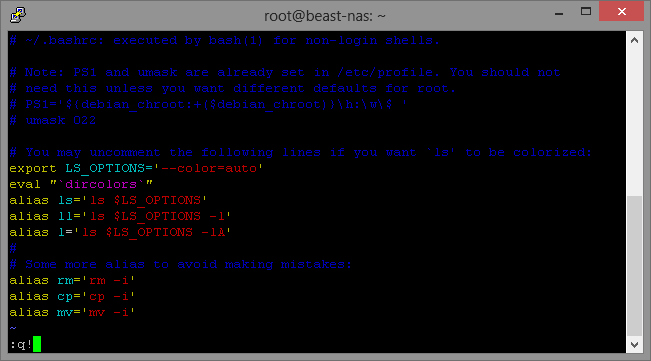
Esckey to cancel, then hold down theShiftkey and hit:to enable the prompt, then typeq!and hitEnterto exit the file without saving it.
Navigate around the file using the arrow keys and remove the hash from the beginning of lines until the file looks like this:
# ~/.bashrc: executed by bash(1) for non-login shells.

# Note: PS1 and umask are already set in /etc/profile. You should not
# need this unless you want different defaults for root.
# PS1='${debian_chroot:+($debian_chroot)}\h:\w\$ '
# umask 022

# You may uncomment the following lines if you want 'ls' to be colorized:
export LS_OPTIONS='--color=auto'
eval "`dircolors`"
alias ls='ls $LS_OPTIONS'
alias ll='ls $LS_OPTIONS -l'
alias l='ls $LS_OPTIONS -lA'
#
# Some more alias to avoid making mistakes:
alias rm='rm -i'
alias cp='cp -i'
alias mv='mv -i'
To exit edit mode and save the file just press the Esc key on your keyboard, you will notice -- INSERT -- at the bottom-left corner of the screen will disappear, then hold down the shift key and hit : to enable the prompt, the type wq! and hit Enter. Vim will save the file and return you to the shell.
Verifying the Changes
To verify your changes run the following command: vim .bashrc
This will display the file and it's contents should look similar to the image below:
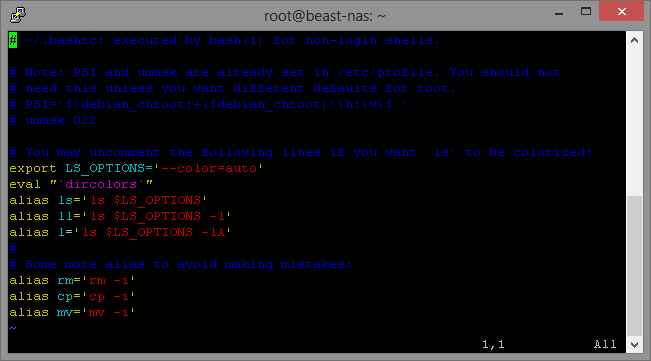
Again, to exit the file without saving hold down the Shift key and hit : then type: q!